How To Attach A Roof To A Wall Height Revit

Trapezoidal Wall Cladding Wall Cladding Cladding Revit Architecture

Solved Adjusting Assembly Wall Layers Autodesk Community Revit Products

Wall Heights Will Not Change Autodesk Community Revit Products

Revit Conceputal Massing 04 Wall Roof By Face Revit Tutorial Autodesk Revit Mass

Pin On Revit

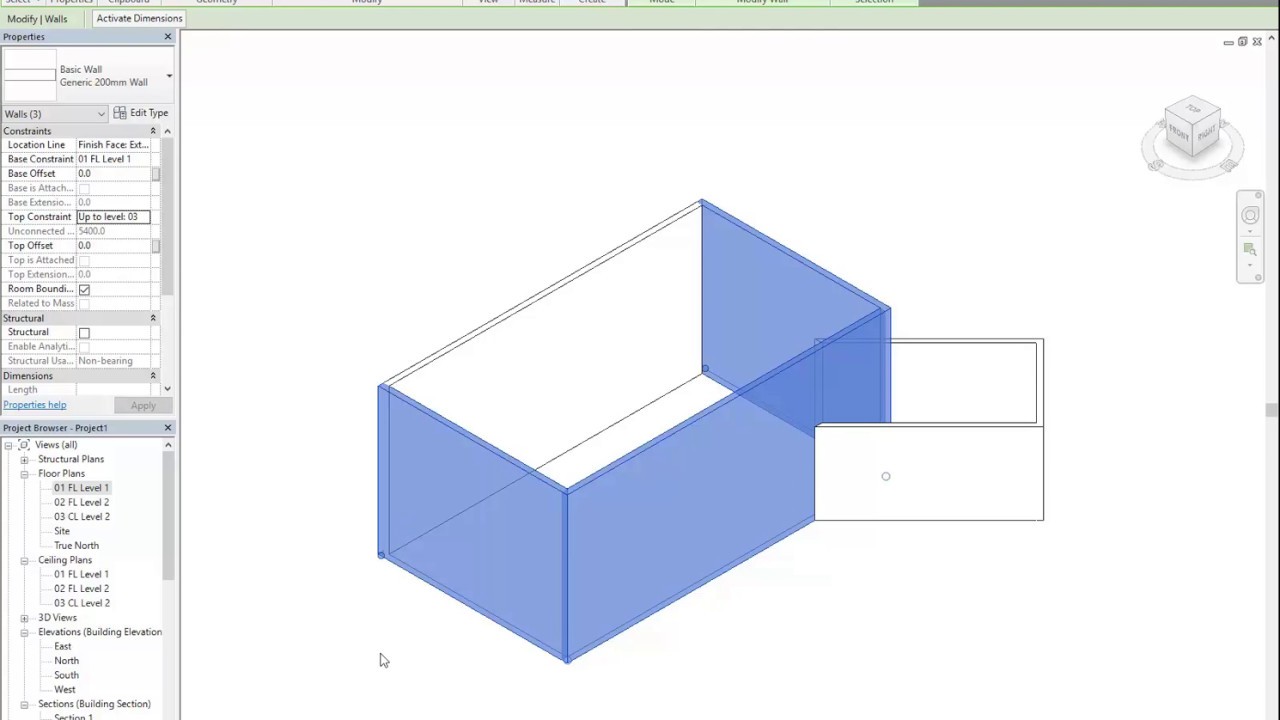
Creating Roof For Multiple Wall Heights And Overlapping Roof Sections Autodesk Community Revit Products
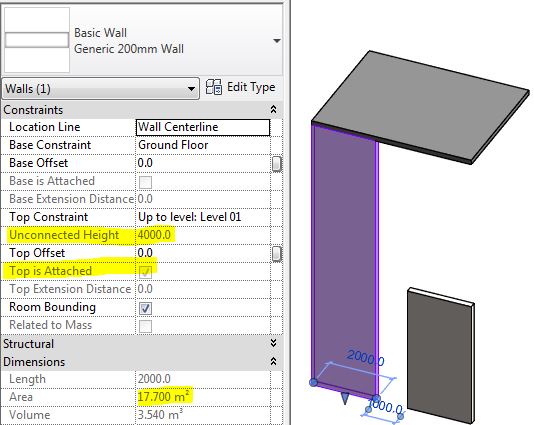
The other element can be a floor a roof a ceiling a reference plane or another wall that is directly above or below.
How to attach a roof to a wall height revit.
Revit House 05 Changing Wall Height Youtube

Revit Creating Arcs In Property Lines Revit Architecture Arc Lines

Revit Architecture An Introduction To Revit Walls Bimscape Revit Architecture Architecture Wall

Solved Roof Level Overhang Autodesk Community Revit Products
Source : pinterest.com
